How I Store My Ribbon, Buttons & Other Embellishments

In this fourth post in my “Storage Series” I share how I store all of my paper crafting embellishments.

I don’t have tons and tons of embellishments to store, so this works great for me. I have 3 different areas in which I keep my buttons, ribbons and other small embellishments:

EmbellishmentStorage3

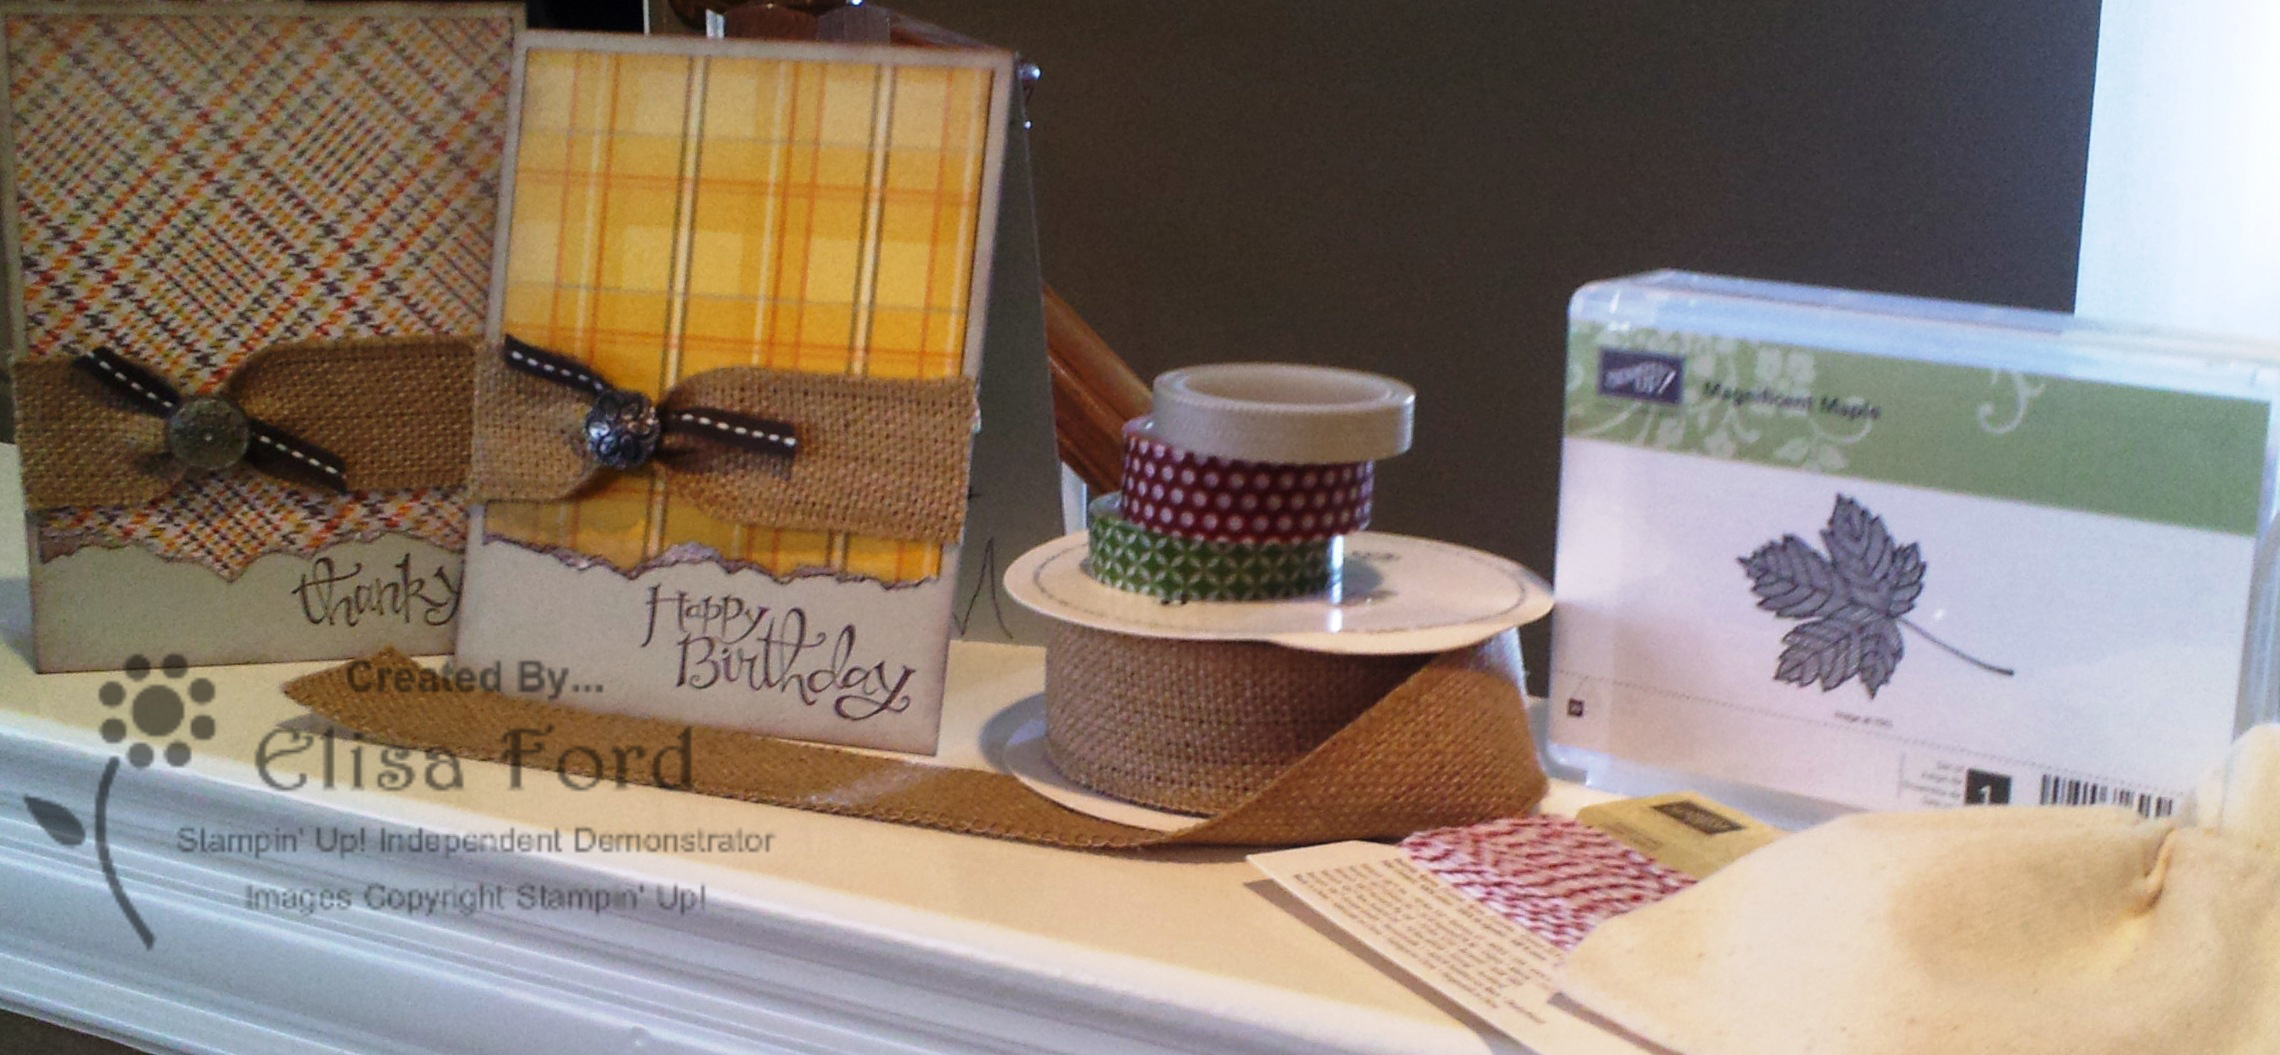
First, my ribbon is kept in these cool ribbon trays mounted on my wall. I’d tell you more about them, but I’m pretty sure they are no longer available.  I wanted ribbon storage that was NOT on a spool, so I wouldn’t have to UN-SPOOL everything just to take ribbon to my craft table or to a workshop! I have two of them (which I will eventually fill, I’m sure) but I really don’t have much in there yet. I keep my current Stampin’ Up! ribbon, ATG refills, and (for now) my StazOn ink in the bottom tray. The top tray (not shown) has all my retired SU ribbons, and a couple of non-Stampin’ Up! items.

EmbellishmentStorage2

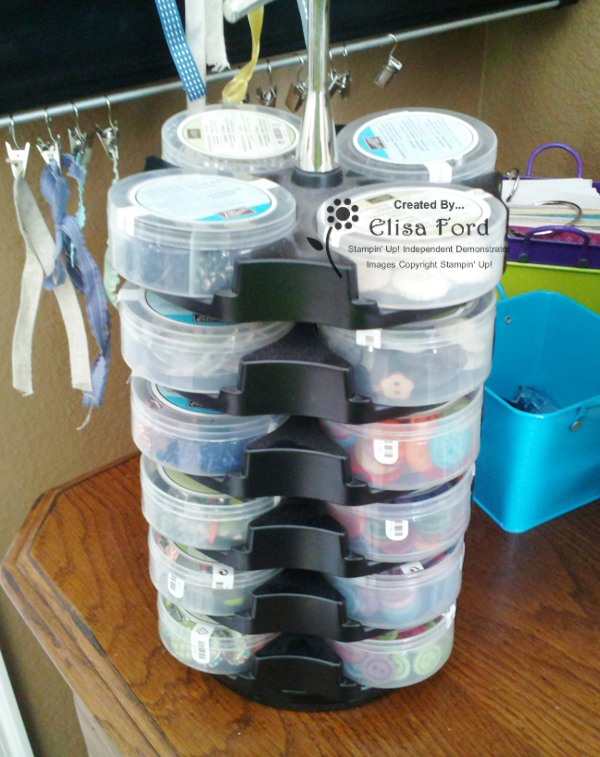
Second, I have the Stack and Store Caddy from Stampin’ Up! I love this item. It holds all of my buttons, brads, and other small embellishments in the containers they come in. I haven’t quite filled this up, but I am working on it!

EmbellishmentStorage1

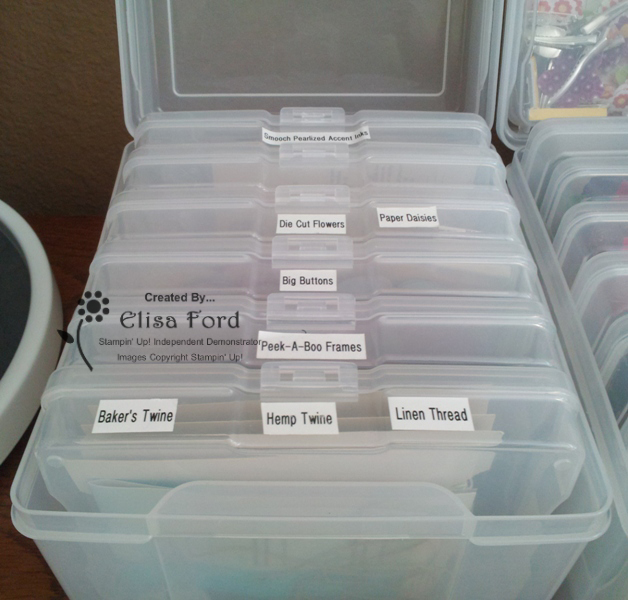
Finally, I keep some items in these fantastic containers from Iris. They are designed to hold 4×6 photos, but I rarely use them for that. Instead you’ll find my rhinestones & pearls, baker’s twine, large buttons (too big for the Caddy) and other doo-dads that fit into the boxes. Then I keep them in the bigger box on my dresser, labels up, so I can easily find what I need!

So, that is about it for my embellishments! I really don’t have a bunch, as you can see, but I’ve designed my storage to be able to accommodate additional supplies.  I’d love to hear how you store your embellishments (in the comments!), or ask me any questions you might have!


Butterfly Stamp Set & Punch Bundle

Butterfly BundleI know that I have a LOT of friends out there who LOVE butterflies! Well, if you are also a stamper then I have a great deal for you!

Through September 30, 2013, you can purchase the Papillion Potpourri stamp set and Bitty Butterfly punch bundled together to save you 15%!

The Butterfly Bundle with the Clear Mount stamp set

The Butterfly Bundle with the Wood Mount stamp set

The handy dandy PDF handout with all the details!

Share with your friends who are also butterfly fanatics! And I’d love to see what you’re making with your bundle – visit me on my Facebook Page and share your projects!

Tool Tip – The Bone Folder’s Many Uses

bone folder from Stampin' Up!

The Bone Folder (102300) is a must-have tool for any card maker. It makes the creases on your card look nice, while saving your fingernails from certain damage. Did you know that there are other uses for this handy tool?

  • Use your Bone Folder to create score lines on cards or other projects. If your paper trimmer doesn’t have a scoring blade, or you’ve misplaced it, then your Bone Folder fills in nicely. Just run the end of your Bone Folder over your card stock in the groove of your trimmer. If you’ve misplaced your stylus for your Simply Scored Tool, grab your Bone Folder and use with the scoring tool, too.
  • Use your Bone Folder to curl your card stock. On projects where a subtle curl is required, the Bone Folder works really well. Gently move the side of the Bone Folder over the card stock you wish to curl.
  • Use your Bone Folder when you re-ink your firm foam ink pads. After you add your drops of re-inker to the top of your ink pad, use your Bone Folder to smoosh the ink into the firm foam for even coverage.
  • In a pinch, I’ve even used my Bone Folder for measuring. At 6-1/16″ long, you can use your Bone Folder to measure card stock or ribbon that needs to be approximately 6 inches long.

It’s such a handy tool with a variety of uses. Have you used your Bone Folder in a way I haven’t mentioned? Let me know in the comments!

You’re Invited to my Holiday Hodgepodge Class

Holiday Hodgepodge

Shown-One of the projects we will make, along with some additional supplies from the new Holiday Catalog we will use for our other projects!

Join me on Friday, September 13 at 7 PM, to create 5 different holiday-themed projects! Visit my information page HERE for details and to register to attend by September 3rd.

We will create fall and winter themed cards, as well as Halloween, Thanksgiving and Christmas projects. All supplies are included, and you will even leave with some additional supplies to create more projects at home. Most of the products we will use are from the current Stampin’ Up! Holiday catalog!

Contact me with any questions, or to register!