Love Blossoms Suite – Occasions 2016

Love Blossoms Suite display

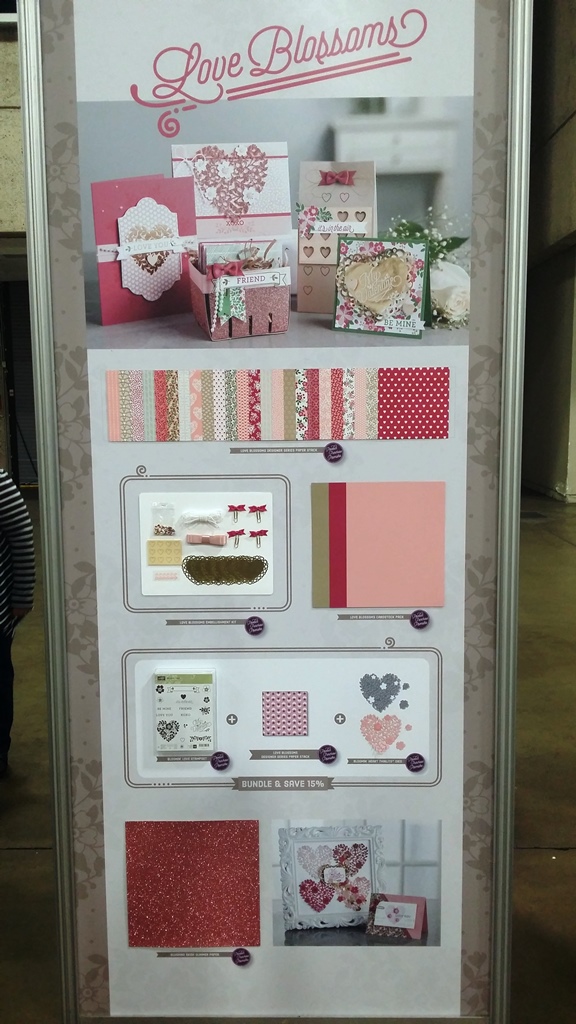
Display board featuring all the products from the Love Blossoms Suite in the upcoming Occasions 2016 Catalog – Click for bigger photo

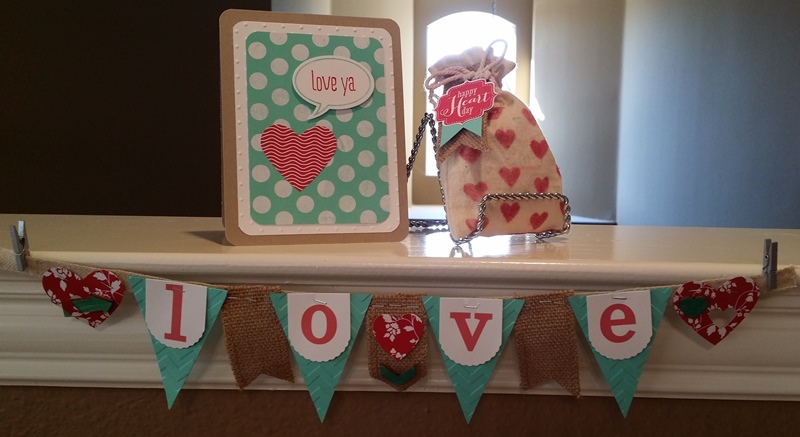
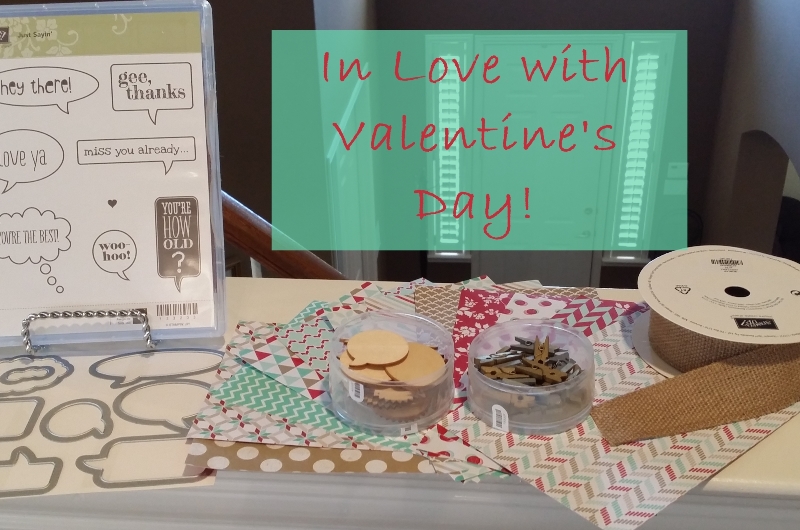
These are the products I’ll be using for my upcoming “In Love with Valentine’s Day” class on January 15, 2016. Registration details coming soon – save the date!

If you have your Occasions Catalog, find the Love Blossoms Suite on pages 16 & 17.

If you don’t have the Occasions 2016 Catalog I’d be happy to send you one! Click the Catalog Request button and complete the form and I’ll get one in the mail to you right away.

Are you In Love with Valentine’s Day?

Sweet Valentine’s for your Sweet…

Val Class 2014 group pic

with heartfelt projects for your Valentine!

Val Class 2014 product pic

WHEN: Friday, January 17, 7pm – 10 pm

WHERE: Elisa’s Craft Room (message me for address)

COST: $30, all supplies included! You will leave with FOUR LOVELY VALENTINE’S DAY projects! The class fee also includes a Pack of Fresh Prints designer series paper – yours to keep after the class is over!

REGISTER to attend NO LATER than January 10th!

Bring a friend (new to me), and your class is only $25!

Pay via PayPal on the Valentine Class Page, or contact me to make payment arrangements prior to the deadline.

Quick & Easy Top Note Valentine’s Favor

Valentine’s Day is only a few days away! Do you need a quick & easy Valentine's project to give to friends, family, or your kid’s class? Here’s an idea!

Top note Valentine's favor, Stampin' Up!

Instructions:

  1. Cut a Top Note shape with card stock (I used Pretty in Pink),
  2. Score it at about 1-3/4” on each long side.
  3. Cut a 1” x 3-3/4” strip of designer paper (I used the In Color Patterns stack in Raspberry Ripple).
  4. Stamp your sentiment (I used Delightful Dozen in clear mount) and punch it out using the Scallop Oval Punch.
  5. Layer the designer paper onto the front of the Top Note piece.
  6. Close up the Top Note favor (I used a staple) while inserting a cute strip of Whisper White Organza Ribbon inside, poking out the top.
  7. Attach the scallop sentiment with Stampin’ Dimensionals.
  8. Punch a heart with the Small Heart Punch and place over the heart on your stamped image, using dimensionals.
  9. Add some extra bling with the Pearls.
  10. Insert the candy of your choice and you are done!

This is an easy project to “assembly line” and make a bunch at a time. We did this project during my “In Love with Valentine’s Day” class and it was fast! Check out my class calendar for what’s coming up next!
Let me know what you think! If you need project ideas for an upcoming holiday or event, let me know – I can help!

Happy (Valentine) Crafting!

~Elisa