I’m Going On Vacation… And You Get This Special Offer!

I am heading on vacation soon, for the first time in many, many years. So I am naturally pretty excited about it!

Because I don’t want any of my amazing customers to feel slighted in any way while I am “out of the office,” I have an special offer for you!

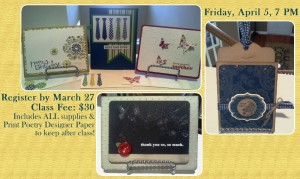
Place a $43 order through my online store between July 19 – July 28, and I will send you a FREE card class PDF. This one has  photos, ingredients, and full instructions for 6 projects using supplies from the NEW Stampin’ Up! Annual Catalog for 2013-2014.

Free Card Class with Online Order

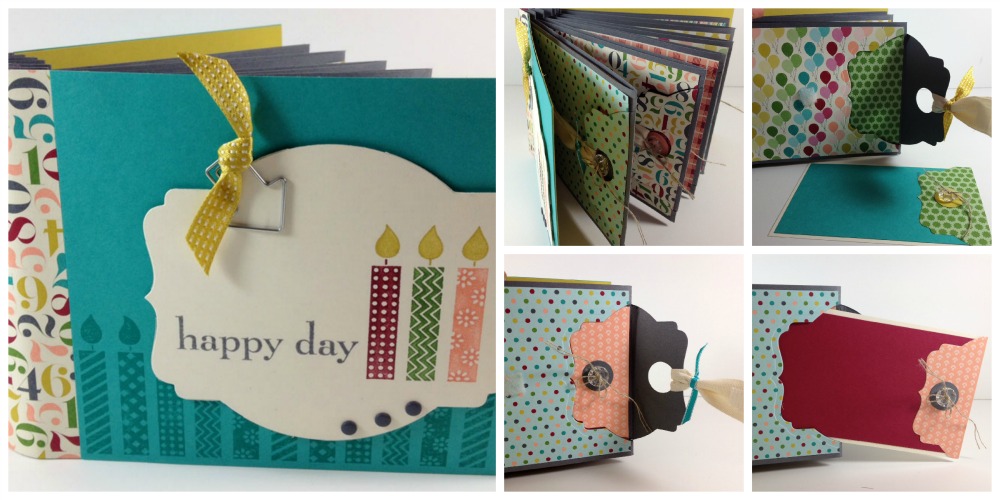
Double your order to $86 (in honor of my twin sister!) and you will also receive a FREE class PDF to make this adorable Birthday Brag Book.  In addition to full instructions, ingredients and photos, like the project above, this class also comes with VIDEO instruction to make the book.

Birthday Brag Book FREE class with Online Order

The Fine Print:

  • Orders must be placed in my online store. I will not be available to place orders for you while I am on vacation.
  • Orders must be placed between July 19 – July 28.
  • If I am able to do so, I will send your class PDF(s) to you via email while I am away.  However, I am not sure of my internet access while away, so you might have to wait until July 29 to receive your class(es).
  • The email I will send your class(es) to will be the one you use to place your order through my online store. Please make sure to check your “junk” folder for the class(es) or save my email address to your safe list: elisa@mirrorimagecrafts.com.

Here’s the link to my Online Store again

If you would love access to these classes, but can’t place an online order, book an in-home workshop with me for September, October or November, and I’ll send you the class of your choice!  Email me between July 15 – 30 to take advantage of the booking special!

Deadline to Register for “Spring Into Summer!”

I just wanted to post a quick reminder that tomorrow (March 27) is the deadline to register for my upcoming “Spring Into Summer” card & project class.

April 2013 "Spring Into Summer" Class

Visit my information page for more details and to register via PayPal – or email me to make payment arrangements no later than March 27th!

Thanks! Can’t wait to see you there!

“Spring Into Summer” Class, Coming Soon!

April 2013 "Spring Into Summer" Class

I am REALLY excited about my next class, “Spring Into Summer,” coming on April 5, 2013! I hope you will join me to make the projects pictured AND one that isn’t (yet.)

Visit my information page for more details and for the link to register to attend.  I need to know if you are attending no later than March 27 in order to prepare for you.  If you cannot make the class on April 5, contact me about purchasing a kit I can send you after the class is over.

The projects for this class can be customized to meet YOUR needs – if you don’t need a “teacher” card, you can certainly adapt it for your favorite student.  If you don’t need a Mother’s Day card, you can make yours a birthday or thank you card.

Contact me with ANY questions you have about this class.

See you soon!

Quick & Easy Top Note Valentine’s Favor

Valentine’s Day is only a few days away! Do you need a quick & easy Valentine's project to give to friends, family, or your kid’s class? Here’s an idea!

Top note Valentine's favor, Stampin' Up!

Instructions:

  1. Cut a Top Note shape with card stock (I used Pretty in Pink),
  2. Score it at about 1-3/4” on each long side.
  3. Cut a 1” x 3-3/4” strip of designer paper (I used the In Color Patterns stack in Raspberry Ripple).
  4. Stamp your sentiment (I used Delightful Dozen in clear mount) and punch it out using the Scallop Oval Punch.
  5. Layer the designer paper onto the front of the Top Note piece.
  6. Close up the Top Note favor (I used a staple) while inserting a cute strip of Whisper White Organza Ribbon inside, poking out the top.
  7. Attach the scallop sentiment with Stampin’ Dimensionals.
  8. Punch a heart with the Small Heart Punch and place over the heart on your stamped image, using dimensionals.
  9. Add some extra bling with the Pearls.
  10. Insert the candy of your choice and you are done!

This is an easy project to “assembly line” and make a bunch at a time. We did this project during my “In Love with Valentine’s Day” class and it was fast! Check out my class calendar for what’s coming up next!
Let me know what you think! If you need project ideas for an upcoming holiday or event, let me know – I can help!

Happy (Valentine) Crafting!

~Elisa