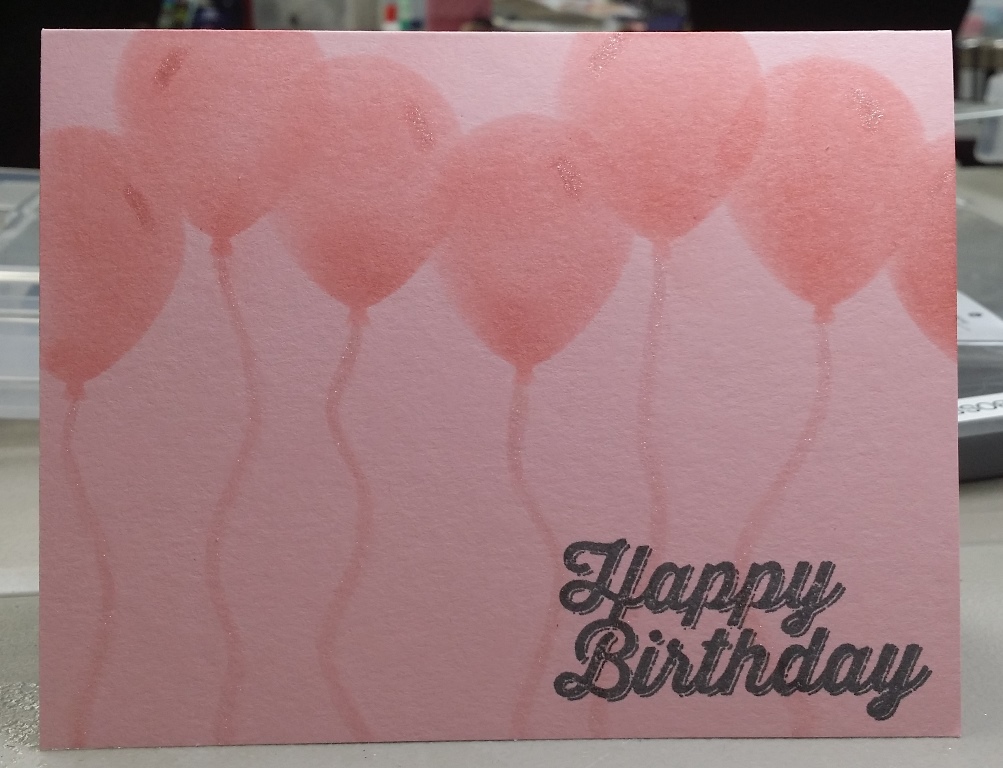
Just wanted to share this quick and easy one-layer card! I used the new Balloon Bouquet punch from the Occasions Catalog as a stencil! Watch below:
Just wanted to share this quick and easy one-layer card! I used the new Balloon Bouquet punch from the Occasions Catalog as a stencil! Watch below:
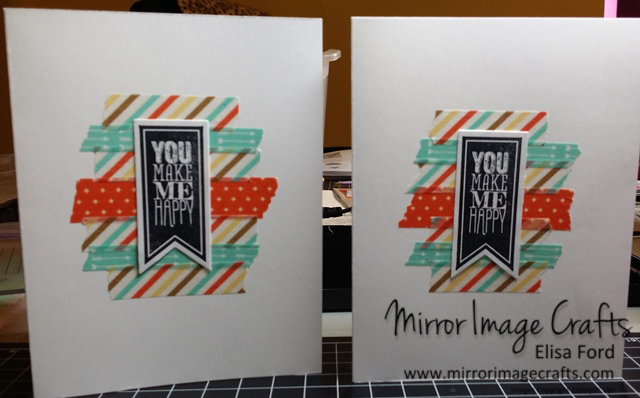
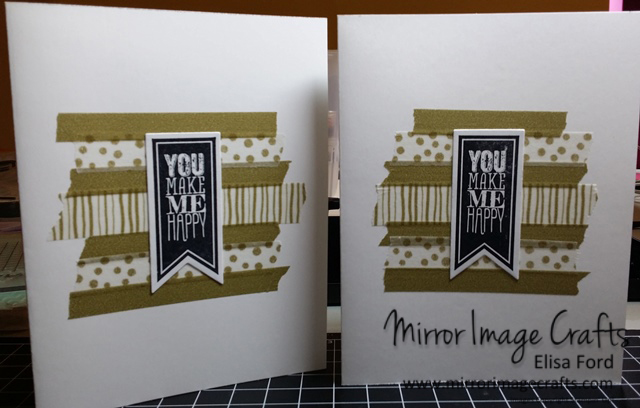 Before the Occasions Catalog becomes a thing of the past, I wanted to share these super-simple Washi Tape cards!
Any style of Washi Tape will work for this card idea… just layer them in a pattern you like and add the stamped focal piece… and DONE!
In these cards I used the You Make Me Happy stamp from the Perfect Pennants stamp set. I stamped it on Whisper White card stock using Jet Black StazOn ink. I then die-cut the banner stamp using the Banner Framelits, which coordinate with the stamp set. If you don’t have the framelits, then a banner shape would be easy enough to cut out with Paper Snips.
I’d love to hear what you think about these Washi Tape cards. And let me know if you make any cards with this idea!
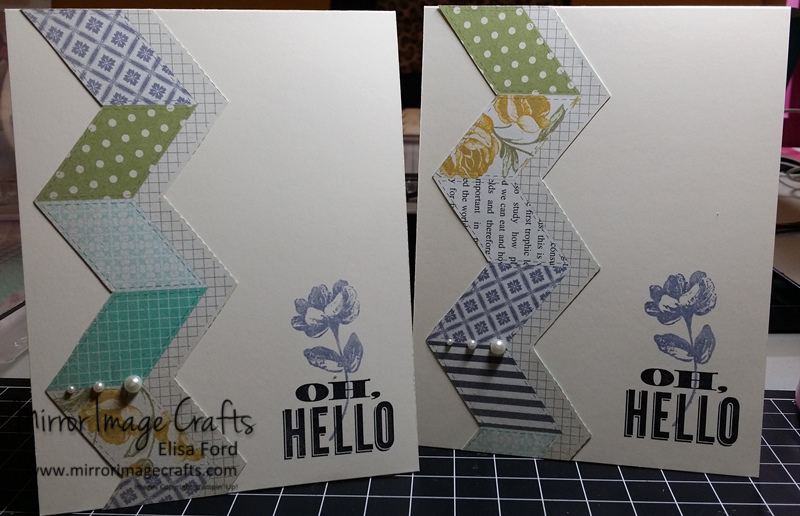
I made these cards at a recent scrapbook retreat weekend I attended. It’s not my usual style of card, but I think it turned out very nice. Even better, it was really simple!
One of the patterns in the Afternoon Picnic designer series paper had this great zig-zag design, so I just cut it out and attached it to the cards! I stamped the sentiment and flower, both from the Oh, Hello stamp set. Then just added some Jewel Pearls in all 3 sizes as a finishing touch.
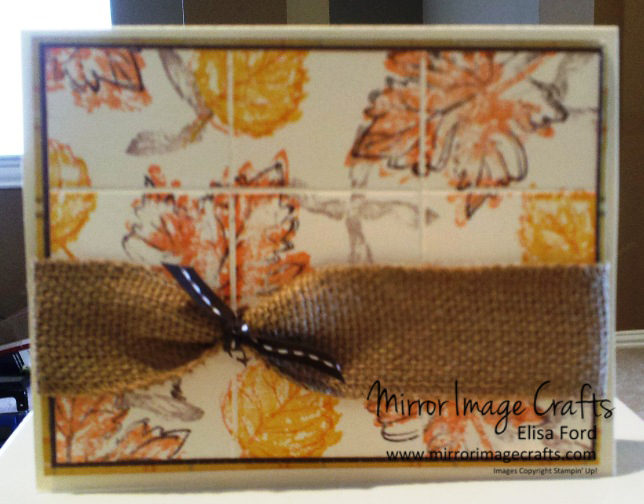 Some “faux” stamping techniques required lots of complicated steps or special tools. The Faux Tile technique is a simple but stunning alternative to try on your next card or project.
SUPPLIES:
Stamps: Gently Falling (128430W, 123804CM)
Ink: Chocolate Chip Classic Ink (126979), Tangerine Tango Classic Ink (126946), Crushed Curry Classic Ink (131173)
Paper: Very Vanilla Card Stock (101650), Sweater Weather Designer Series Paper (132184)
Tools & Accessories: Simply Scored Scoring Tool (122334), Stampin’ Trimmer (126889), Craft Scissors (108360), 1-1/4” Burlap Ribbon (132140), Early Espresso Stitched Ribbon (126871), Sticky Strip (104294), Stampin’ Dimensionals (104430)
DIRECTIONS:
Need supplies for this project? You know you do! Visit my online store, 24/7!