How I Store My Stamping & Scrapbooking Tools

In this third post in my “Storage Series” I share how I store my stamping & scrapbooking tools.

The tools I use most frequently tend to “live” on my craft table. If you read my previous post called “What’s on my Craft Table,” then some of this will look familiar to you.

Small tools which I use all the time stay in my “black spinny.” This is the very technical name for it, of course.

black spinny tool holder

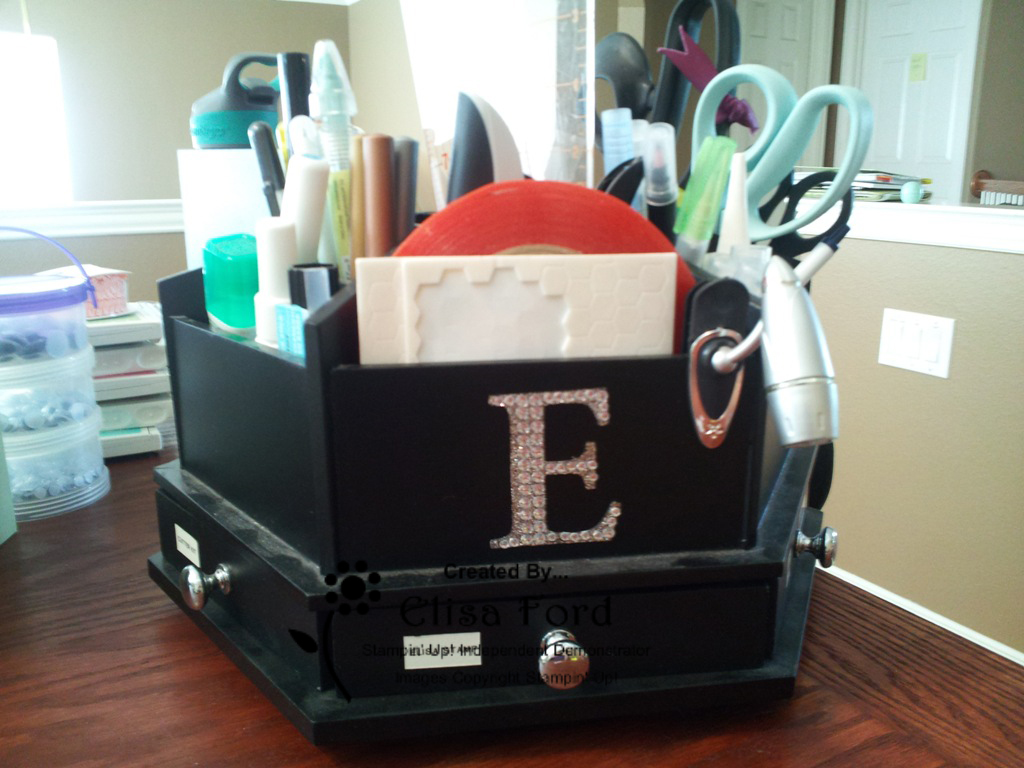
My “black spinny tool holder”

Medium-sized and larger tools also stay on my craft table, if I use them often enough.

scoring & cutting tools

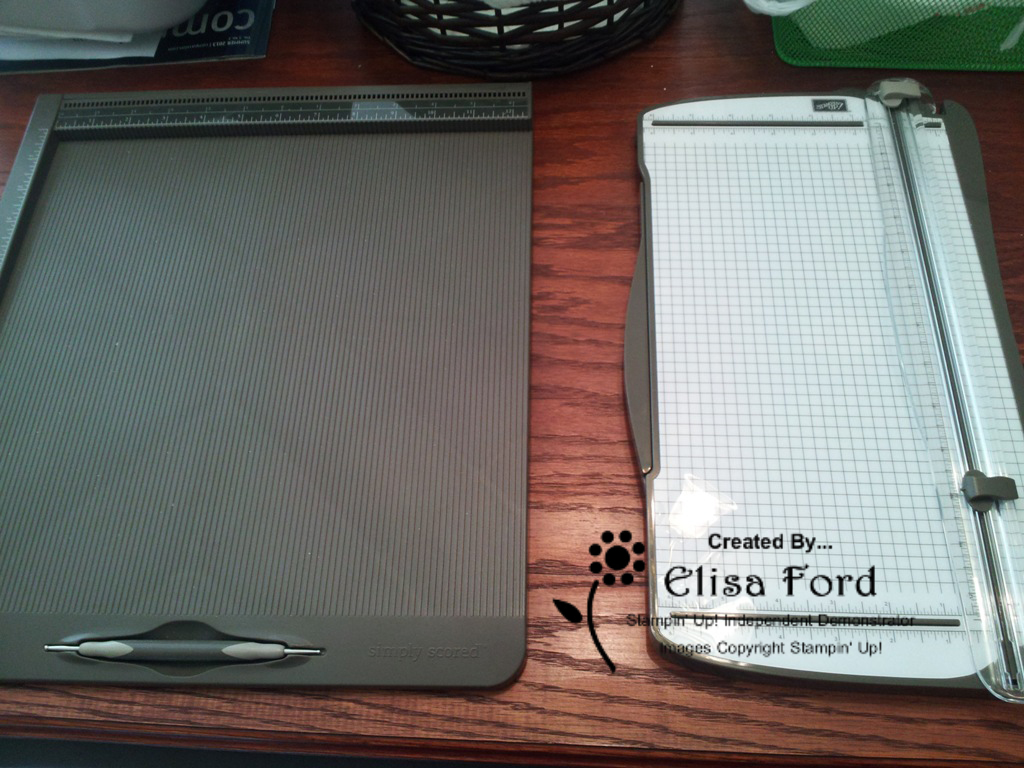
Simply Scored Tool & Paper Trimmer (both Stampin’ Up!) Not pictured- my clear blocks.

Tools I use infrequently I keep in a few different locations:

1. shoe organizer on the back of my office door

shoe organizer for tool storage

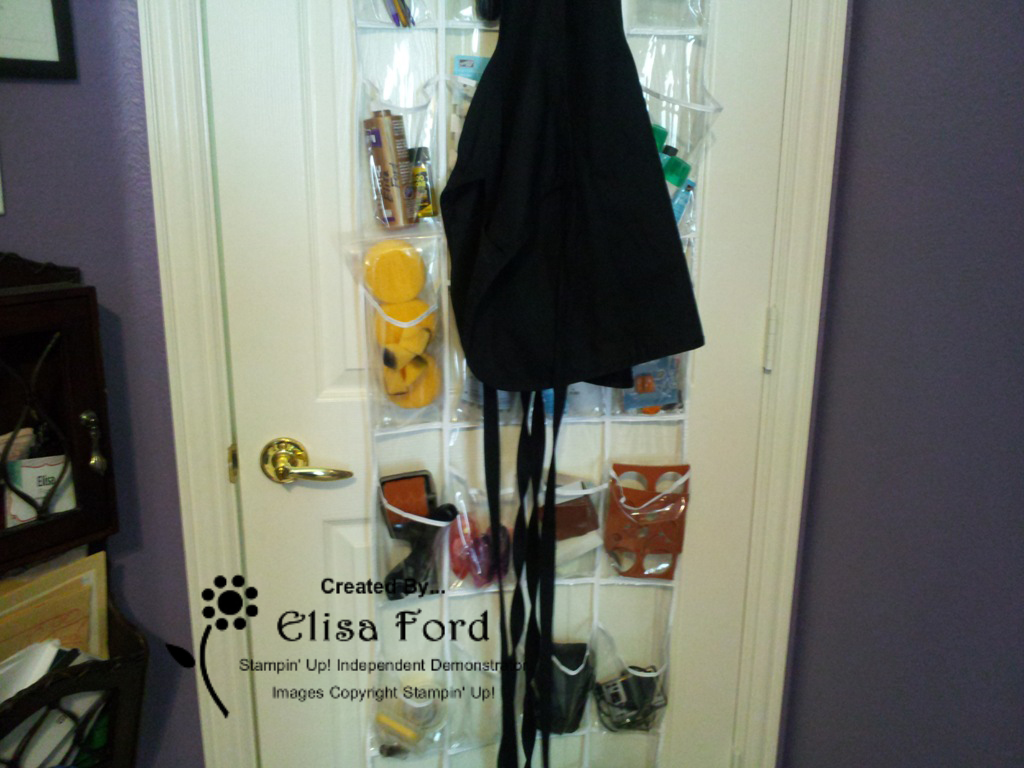
Shoe organizer used for tool storage (Stampin’ Up! apron not included)

2. dresser drawers next to the craft table

dresser drawer storage for tools

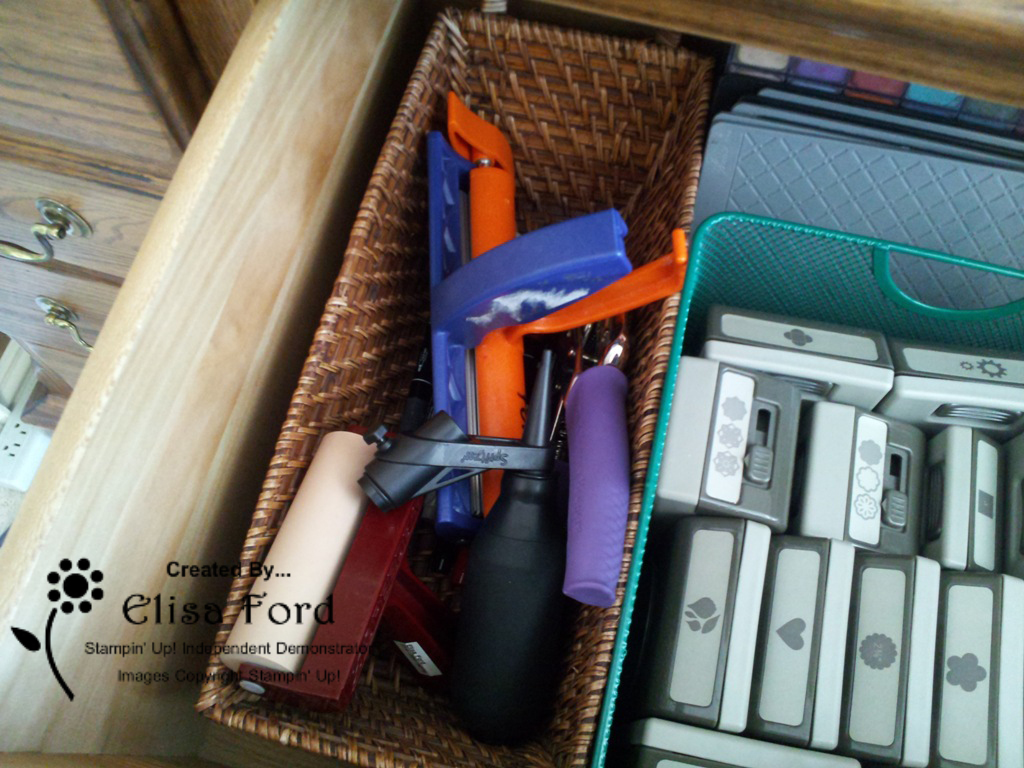
Top dresser drawer – tools stay in the basket next to my punches (punch storage is another topic!)

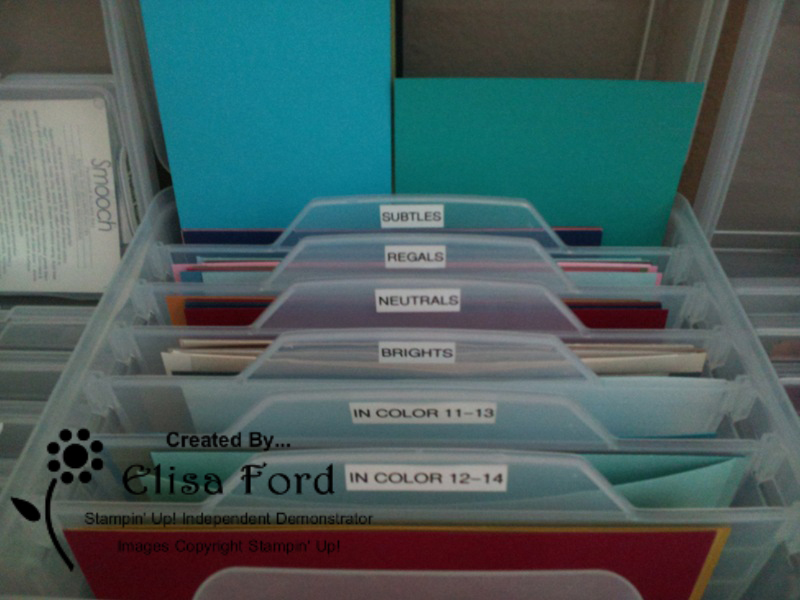
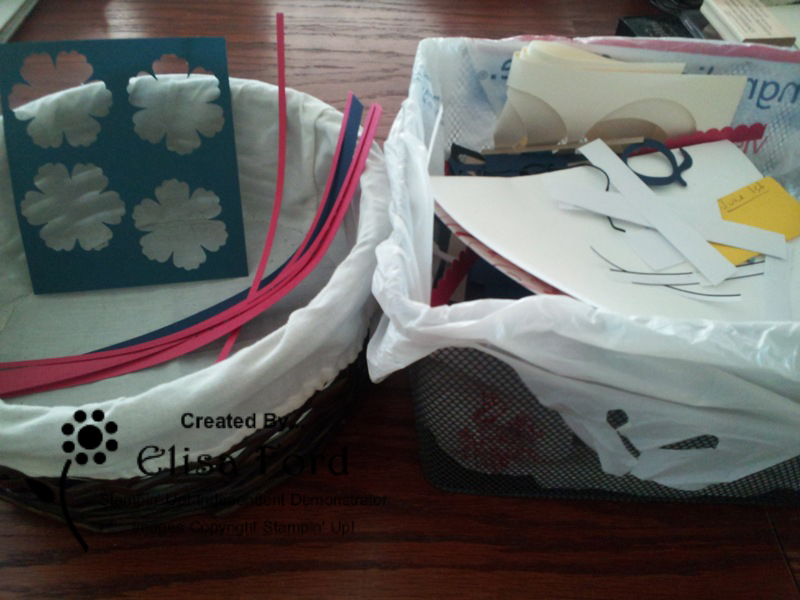
3. inside boxes on my shelves in my office

office shelves baskets for tool storage

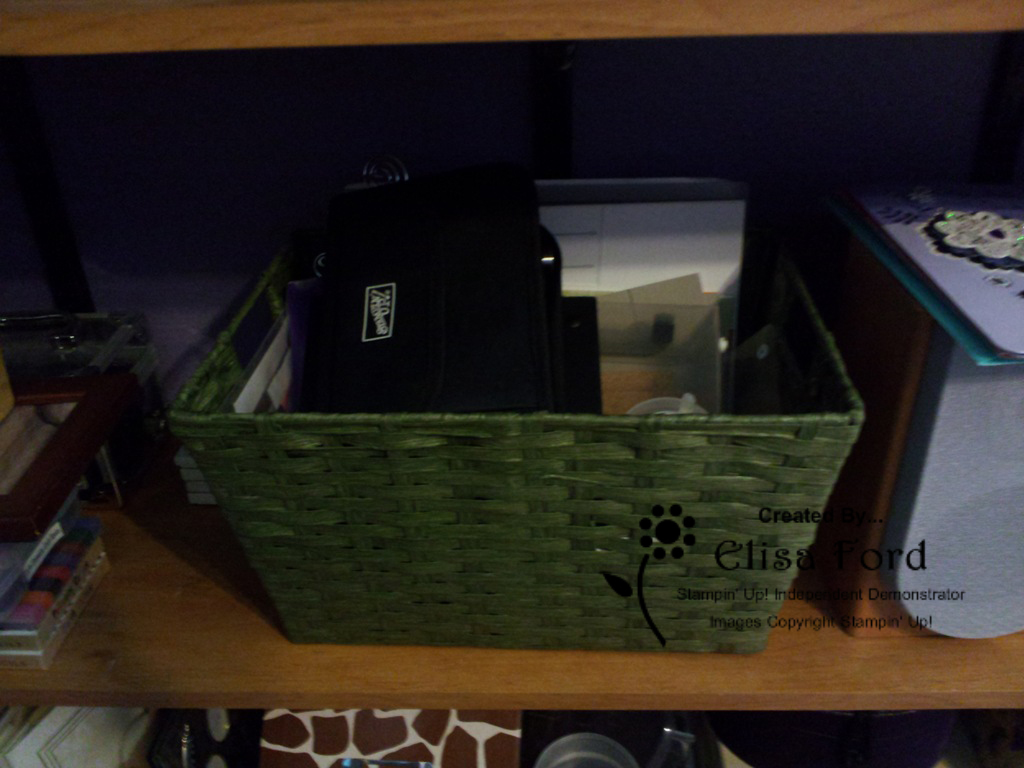
On the shelf below my stamps, I have several baskets like this one, holding tools I use infrequently

I hope seeing how I store some of my tools for stamping and scrapbooking will help you get ideas for your craft space. I am here to help you with ideas, if you need me! If you are local to me, I hope you’ll come to a class or event soon, and see my space “in action.”

How I Store My Stamps

In this second post in my “Storage Series” I share how I store my stamp sets.

When Stampin’ Up! only carried wood-mounted stamp sets, I stored my stamps sideways between 2 bookends. Now that we carry clear-mount stamp sets, I only currently own FOUR wood sets, so this is what it looks like (too few to store sideways anymore!):

wood stamps on shelf

Most of my stamp sets are now clear mount, mainly because I own all the clear blocks, they take up less space on the shelf, and they are less expensive than their wooden counterparts.  I store them all in a DVD holder like this:

stamps in DVD case

I actually own 2 DVD holders, but my sister’s stamp sets are currently living in my second one. I haven’t needed it yet anyway. I do not own very many stamp sets, compared to the typically demonstrator! I try to only buy stamps to fill in “gaps” in my stamps – so if I need a flower set because mine retired, for example. I also earn free stamp sets sometimes, as a demonstrator!  It’s nice because then I can save my crafting money for paper, tools and embellishments!

How do you store YOUR stamps? Share in the comments!

How I Store My Card Stock & Designer Series Paper

In this first post in my “Storage Series” I will share how I manage my Stampin’ Up! card stock & designer series paper (DSP). I’ve adapted this over the years, and I’m pretty pleased with my current storage situation. It works well for me right now… and that is what will be important when you are organizing YOUR own space.

Full-Size Card Stock StorageFirst, here is my card stock, stored on wire shelves you can find at many different stores. To accomplish this paper storage, you will need a couple boxes of the shelves and a bunch of zip ties to hold them together.  I won’t go into how to build this today, but if you want more information you can email me! The card stock stored here is 12×12 & 8-1/2×11 full sheets that have NOT been cut.

Larger Card Stock Scraps & DSPNext, here is where I store my larger scraps of solid card stock and my DSP. The open storage sleeves to the left hold card stock by Stampin’ Up! color family. The open storage sleeves in the middle hold my DSP paper stacks by color family. The closed storage sleeves on the right hold my DSP, separated by pack, as well as one sleeve for storing all 3 colors of glimmer paper.  These sleeves hold full-size sheets and all scraps in the same holder. They key here is that I have labeled everything so I can easily find what I am looking for.

Small Card Stock ScrapsHere is my card stock storage for my smallest scraps. I used to keep them all separated by color in small zip-locks in one box, but I like this storage by color family much better.  It really helps me to NOT keep every single teeny, tiny scrap because I only have a certain amount of space per container.

Card Stock Card Base StorageIn this box (which is sold as a card holder, but didn’t work for me in that way) I keep my card stock, by color family, which is already cut into a standard card base size (8-1/2×5-1/2, scored at 4-1/4).  This really helps keep me from cutting into a full-sized piece of card stock when I already have a card base ready to go!

Card Stock Management During CraftingFinally, while I am crafting, this is how I manage my card stock and DSP.  Small pieces I don’t need to keep go immediately into the trash on the right. Everything else goes into the basket on the left (except card bases & full-sized sheets) for me to put away at a later time.

I hope this article helps you with ideas for storing your card stock & DSP. If you have questions, please contact me. If you have your own storage for paper that works great for you, share it in the comments. I’d love to hear your ideas!