Four Steps to a Finished Scrapbook

I am really excited to announce that I recently finished my son’s first-year scrapbook! (He’s four!) Those of us who truly enjoy our scrapbooking hobby know that “finishing” an album is a rare thing. Many times we might have several scrapbooks “in progress” and sometimes we just don’t feel like working on a specific scrapbook, so it’s fun to be able to switch around between multiple projects. I really had to decide that finishing his “baby” book was a priority — and I am so happy that I did!

I wanted to share a few steps that really helped me get it done, without feeling like I was forgetting something!

  1. First, everything starts with your photos. Mine were primarily on my computer to begin with, so I went through ALL of them from his first year (and some from before he was born) and made a list of what I had to work with, in chronological order. Some photos fit neatly into an event or theme, and some were just daily life. I listed it ALL. It helped me to keep this list on my Google Drive, but a handwritten document could work for you.
  2. Second, I had my photos printed. ALL of them from his first year, whether I thought they might be included in the scrapbook or not. This way I would still have all of them either sorted in labeled boxes or in his scrapbook. It gave me some flexibility towards the end of my project when I decided to include a 12-month retrospective (2-page spread) using one photo from each month that I hadn’t previously used in the book.
  3. Third, I pulled ALL the designer papers (patterned scrapbooking papers) that I might use for his scrapbook into ONE container. This made it more simple for me to go to ONLY that one spot to find paper for each layout, rather than digging through my entire stash of paper each time. Also, you may decide to tie all your scrapbook album pages to a certain design or theme — so keeping all of that together makes more sense. I didn’t include solid card stock in this project stash, because with my craft room layout it is easy enough to pull pages as I needed them. You could also include embellishments in this step, but I tended to make or use embellishments as I went, so I didn’t need to collect them all at once.
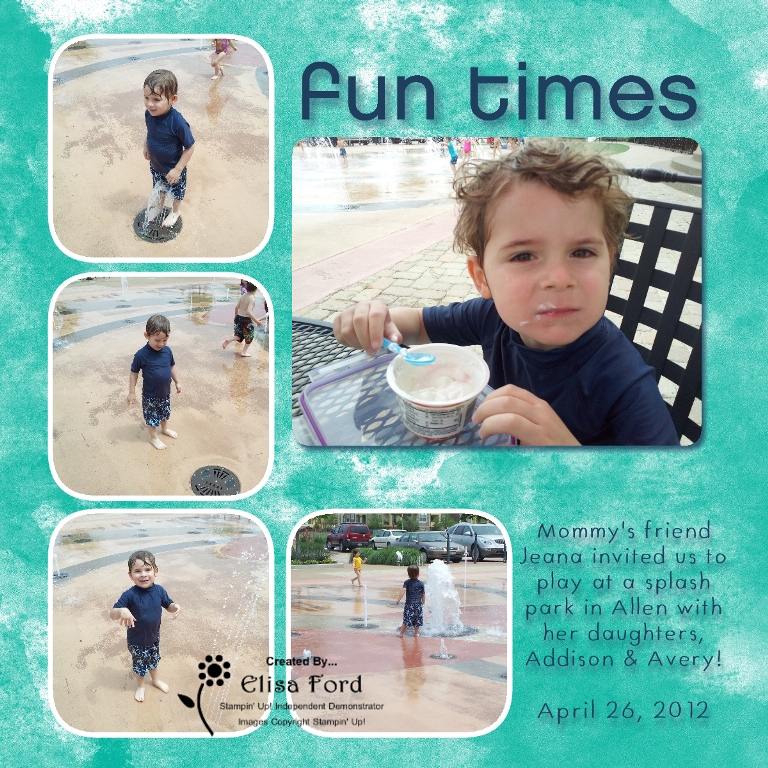
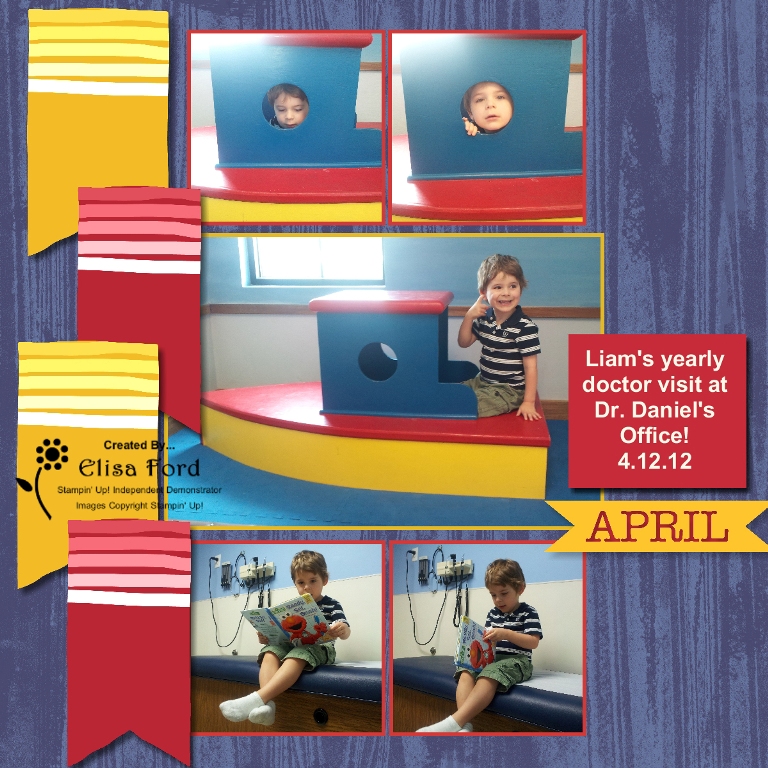
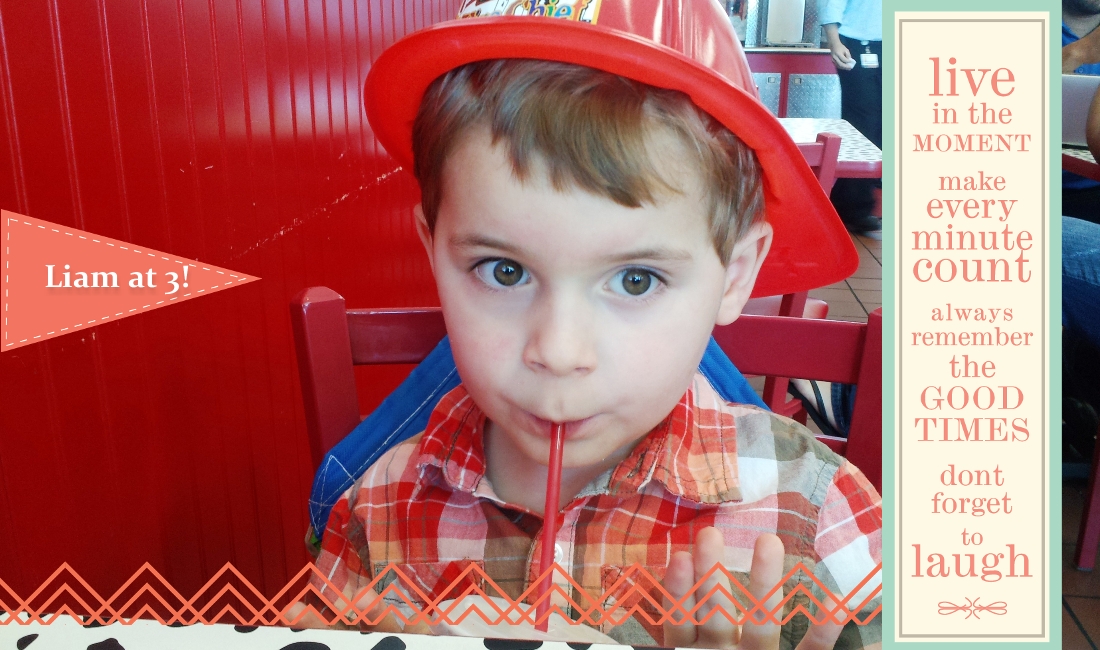
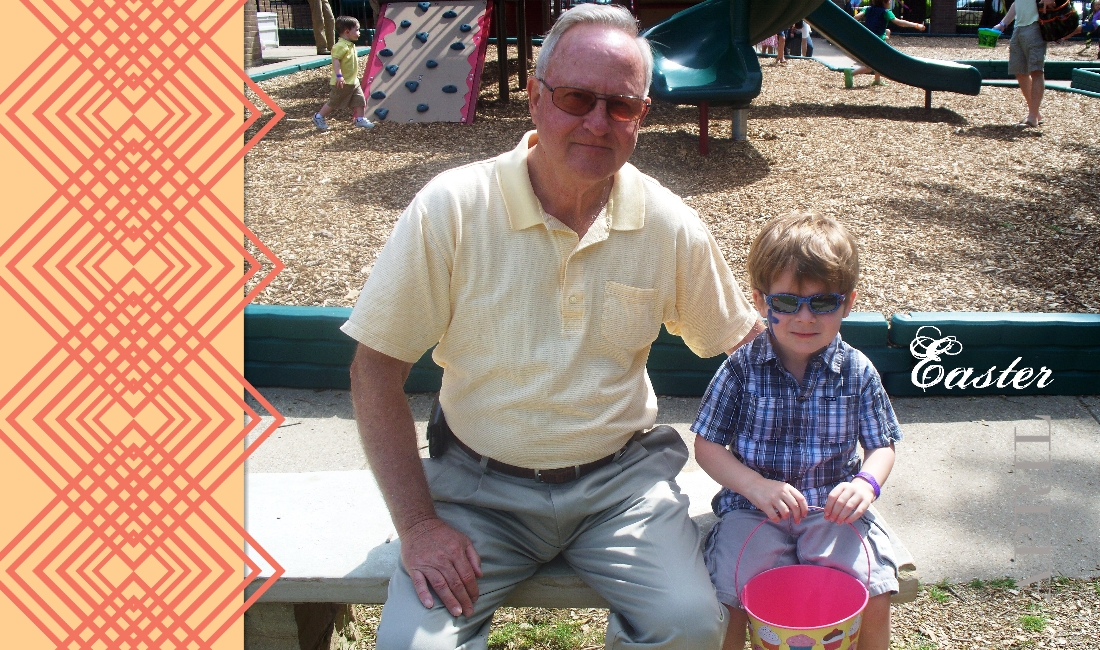
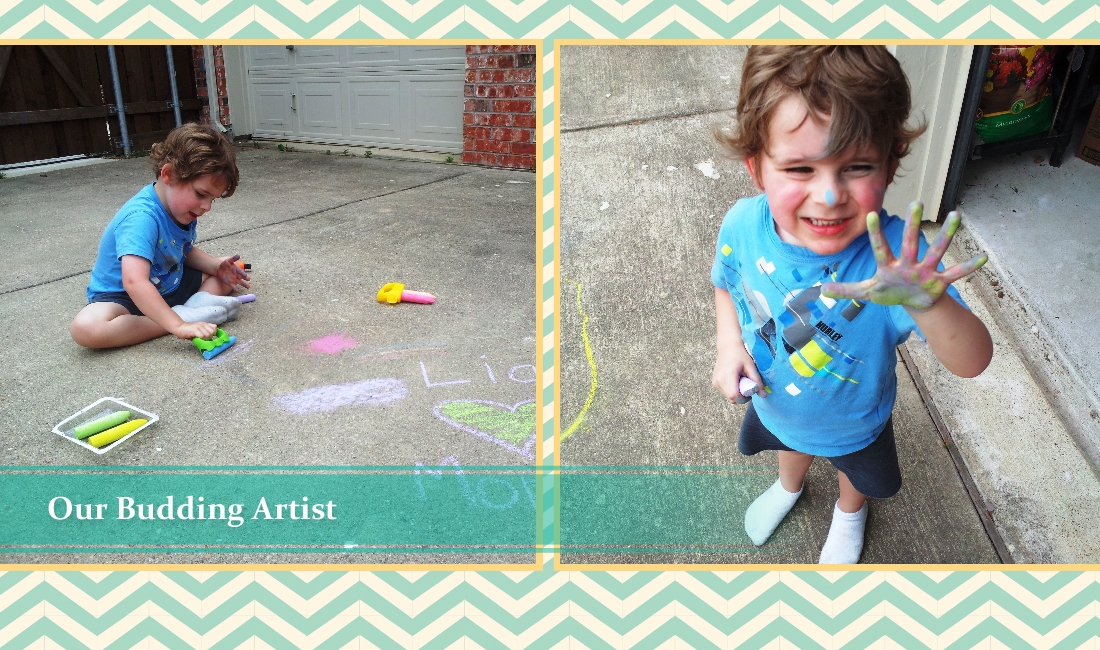
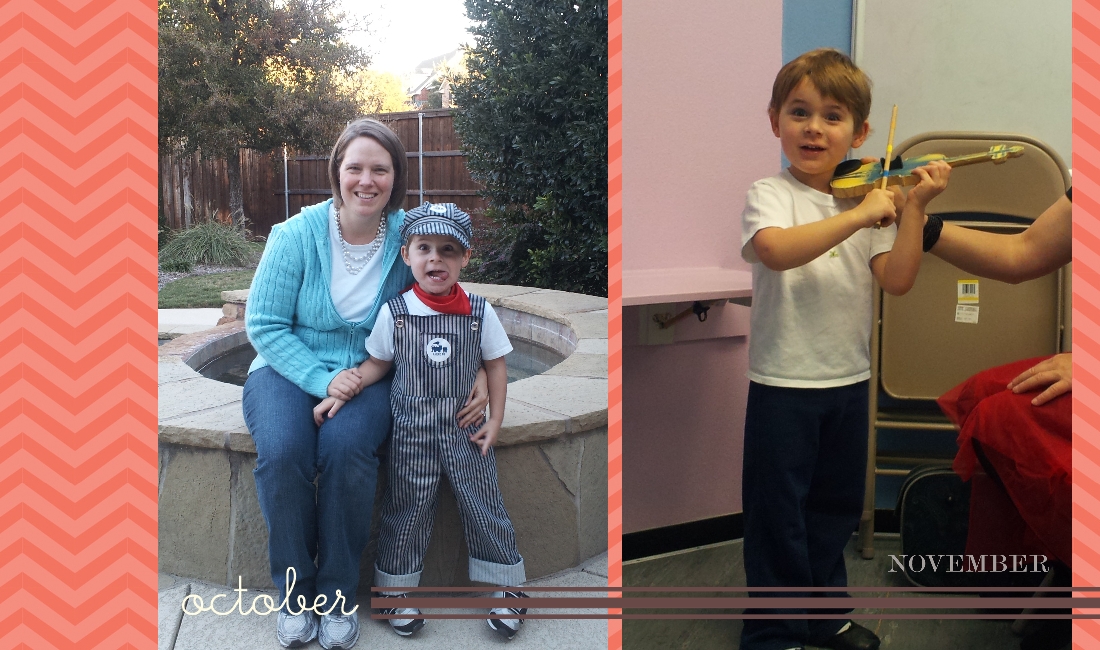
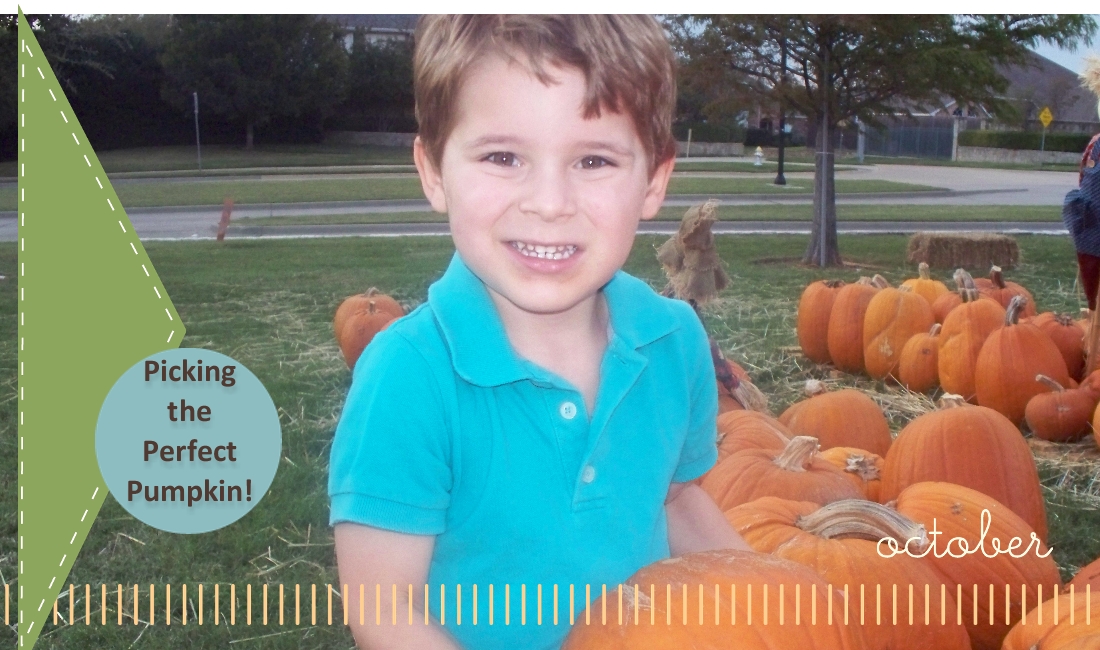
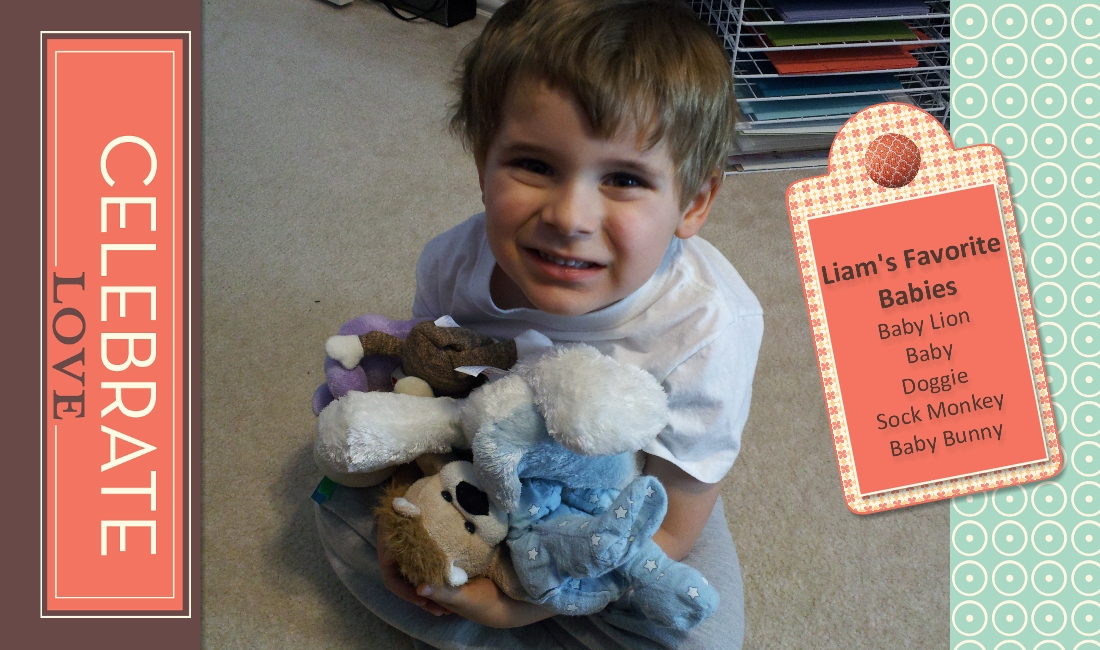
  4. Finally, I simply got started making pages. With my handy list of photos, organized by month, then by event, I could make a page and cross it off my list. I didn’t have to necessarily scrapbook each page in order, so jumping around within the album made me feel a little more inclined to scrapbook because I didn’t HAVE to work on a specific page. For example, one of the first layouts I completed was Liam’s first birthday! Some of the last pages I completed were from right before he was born!

So, I hope reading a little about my process might help you get your scrapbooking done, or at least help you get a little more organized. Everyone has to do what works for them, and this truly helped me get my son’s first-year scrapbook completed before he left for college! Now I am working on a scrapbook from my high school days (almost 25 years ago!) and I’m more motivated to get it done, now that I know that it’s possible to finish a scrapbook!

I’d love to hear the steps that work for YOU when scrapbooking. Share them in the comments below! And please contact me if you have any questions!

~Elisa

More My Digital Studio (MDS) Fun!

I wanted to share a couple more My Digital Studio pages I’ve made recently. These are pages in my Ford Family 2012 Album – still in progress.  They feature my then 3-year-old son Liam, who is now FOUR!  He is my favorite subject to scrapbook, of course!

FordFamily2012-WaterParkFordFamily2012-DocOfficeI am having SUCH a good time making these pages, and the best part is how quickly it all comes together!  If you’ve never tried digital crafting, then I strongly recommend you download the FREE 30-Day Trial version of My Digital Studio (MDS).  If you download the trial software from my online store, then you will also receive a link to sign up for my 10 tutorial videos during your 30-Day trial period!

And if you decide that MDS is just too much fun and you have to have it – I’ve got fantastic news for you.  Stampin’ Up! has lowered the price of this amazing software!

So, now what are you waiting for?!?!

I’m here to answer any of your digital design questions – click here to email me anytime!


My Recent Digital Projects with MDS2

Digital Fans! If you haven’t tried Stampin’ Up!’s MDS2 program, then what are you waiting for? I am fairly new to digital and I love it! I wanted to share a couple of recent projects with all of you.

If you are on my mailing list, then you will recognize this 12×12 scrapbook page from our visit to the State Fair of Texas last fall. This is one of the pages for my Ford Family 2012 Album, which is still very much in progress!

State Fair Digital Scrapbook Page MDS2

This adorable swatchbook project was one of my Christmas Gifts to Liam’s grandmothers! I downloaded the Life Celebrated swatchbook template, popped in my photos, added just a little journaling and embellishments and I was done! The trickiest part was choosing the photos! There are 26 pages (including the front and back covers) so I am just showing a few here today. Click for a bigger picture:

LifeCelebratedSwatchbook2012-001  LifeCelebratedSwatchbook2012-010  LifeCelebratedSwatchbook2012-011

LifeCelebratedSwatchbook2012-023  LifeCelebratedSwatchbook2012-022  LifeCelebratedSwatchbook2012-025

Stampin’ Up! offers a FREE 30-Day Trial of MDS2 – so you can “try it before you buy it,” as they say. The program has full functionality, but a limited supply of content to sample. But you definitely have enough included in the trial to know if purchasing the full software package is for you! In addition, you can ask me any questions you might have during your trial – I know quite a bit about MDS2 — I’m even CERTIFIED!

Happy (Digital) Crafting!

CASE the Catty – Grateful Scrapbook Page

Stampin' Up! catalogs are a great way to find ideas for new handmade cards, scrapbook pages or other projects.  I love to use my catalogs to get new ideas, and change them up (a little or a lot) to suit my supplies and my taste.

A few months ago, I used this scrapbook page from page 28 in the current Stampin' Up! Idea Book & Catalog.

Grateful SU page28
And I turned it in to my version, which is larger (because I usually scrapbook in 12×12 rather than 8×8) and obviously used a different background color.  And as you can see, I still need to pick the perfect photos to place on MY page!

Grateful Elisa page
I did use the same stamp set called Day of Gratitude (121148 CM, 120835 W) and the same alphabet, Simple Letters Alpha (115960) with the Big Shot Die-Cutting Machine (113439).

So, you can see how I took the original idea and made some changes to it to reach a totally new result.

Stamping and scrapbooking do not have to be difficult or time consuming endeavors.  Let me show you and your friends simple tips, tricks, and techniques to make the most of your time and supplies!  Contact me TODAY about having a Stampin' Up! party!

Happy Crafting!

MICBlogHeader5.11-elisa sig