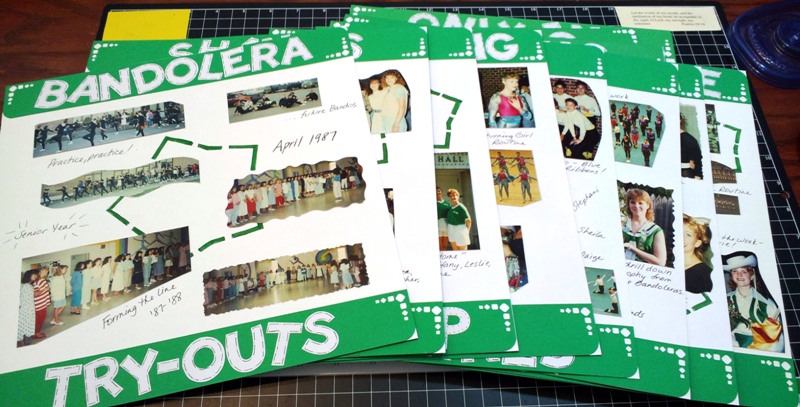
Let’s visit the late 80s! And check out the crop work on these photos! Fantastic, no?!?! I’ve moved on with the scrapbook anyway… read about it below!
Recently I wrote an article about how I finished my son’s first-year scrapbook, and I mentioned that I am currently working on an scrapbook from my high school days. More specifically, it’s the album from my two years on my school’s drill team. Go Bandoleras!
I wanted to write about THIS scrapbook specifically to talk about the mistakes I’ve made with it, and how I’m finishing it anyway!
I’m not sure exactly when I started scrapbooking my drill team album (maybe about 1998? maybe earlier?), but it started as just that… an album rather than a true scrapbook. It was also only my 2nd year/Senior Year pictures. I took my photos, cut them into strange shapes with super-cute (at the time) scissors, and placed them in a magnetic photo album. In addition, I had used a word document for journaling every detail – places, names of everyone in the pictures; which came in handy later, actually!
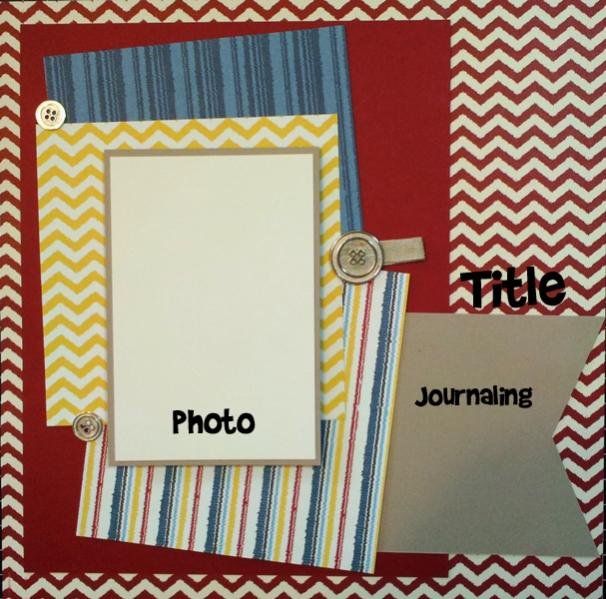
Sometime around 2001 or 2002, I learned that the type of photo album (magnetic) I had used was NOT great for photos, so I set about to “rescue” all these photos and move them into a true scrapbook. However, I only had these chopped up photos to use. UGH! Well, I moved forward anyway! I decided on a consistent layout for the entire album, rather than something different on each page. Consistency would also make it easier to get the pages done more quickly. I also think it sort of hides the hideousness of the chopped up photos.
My previous journaling on the word document was fantastic and VERY HELPFUL! I used to have a terrific memory, but I’ll admit to not remembering everyone’s name in every photo. Sorry, friends!
Just a few weeks ago, I finished my Senior Year pages for the scrapbook, and I’m moving on to the first year. None of my Junior Year drill team photos are chopped into the hideous shapes (yay) but I also have a lot fewer photos from my first year (boo) and they are not great pictures (double-boo) because of the camera used, I’m guessing. It seems that my mom, who was the primary photographer for all of my drill team photos, got a new camera between my Junior & Senior years in high school. Mystery solved, I think!
I have decided to carry on with my consistent page layout with the entire album — I had once considered having the two years look different from one another. However, now I am in “get it done” mode, so keeping the layout the same will help me with that!
I’ve started with my photos (see my post on the Four Steps to a Finished Scrapbook) and sorted them into different events. I haven’t listed each page in a Google document this time, because there are only going to be about 10-12 pages. My supplies were already collected, so I can skip that step. Now I can just quickly scrapbook each page, in whatever order I’d like, to get it done. Unfortunately for this set of photos from my Junior year, I don’t have all the terrific journaling, but I think I can work through that with a little help from my twin sister and some of my close high school friends.
My final step for my finished drill team album will be a title page – but I am saving that for the very end!
I hope you’ve enjoyed this glimpse into my scrapbooking world. I encourage you to work through any mistakes you’ve made and get your projects done! I could have let a few mangled photos set me WAY back on this project, but I chose to move forward. After all, it’s the memories that are important to share, rather than striving for perfection!
Let me know how you’ve worked past mistakes in your projects by leaving a comment below. I’d love to hear from you, and to know I’m not the only one who used the super-cute scissors to attack my photos!
Happy Scrapbooking, Friends!


 WHEN: July 1-31, 2013